After lining up the photos as much as possible it was time to draw the main feature lines on both the front and side of my face. Using a blue paintbrush in Photoshop I followed the natural features and lines on my face, mainly where the skin and muscles undulate that create the actual shape of my face.
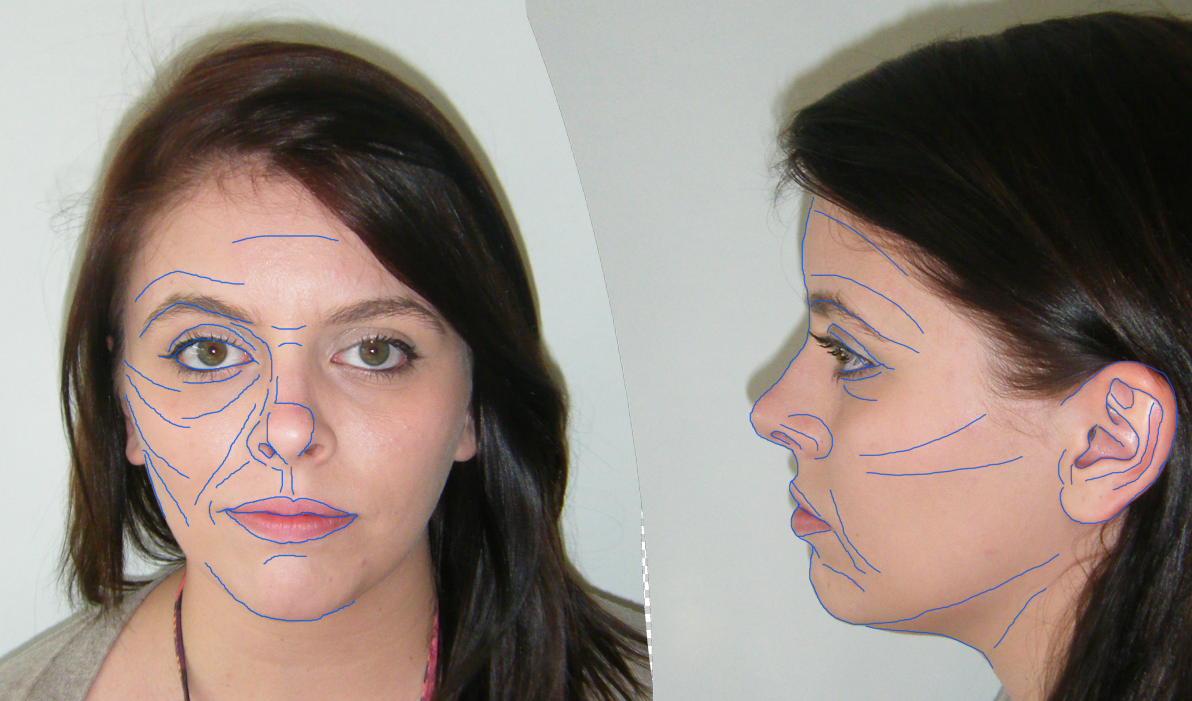
This image shows the feature lines added in Photoshop.

This shows the topology in working progress.
Once I had ascertained where the major line and features were on my face, I needed to again go over these lines with a bit more detail to create the 'Topology' of my face. The topology sections the face out into quads whilst trying to follow the flow of the features and natural contours of the face that display how the muscles in the face are situated and how they flow into one another. To show this seperately from the blue feature lines, I created a new layer and used a red paintbrush. Now, according to the video tutorials that I have been following to create my 3D head it is essential to create quads across the face due to the rendering calculations within 3D Max. I also only created the topology guidelines on the left side of the front on image, this was due to most people's faces being mostly symmetrical (with obvious degrees of similarity depening on the individual) and also to create a relatively easier model with which to work.

And here the finished topology result.
Phew. Now time to import the images into 3D Max and to start making me (or at least part) in digital form!
No comments:
Post a Comment