Creating an editable Polly!
After created reference planes in 3D Max from which to work from I was to use the spline tool to redraw over my original topology to create a workable topology in 3D Max.
After created reference planes in 3D Max from which to work from I was to use the spline tool to redraw over my original topology to create a workable topology in 3D Max.
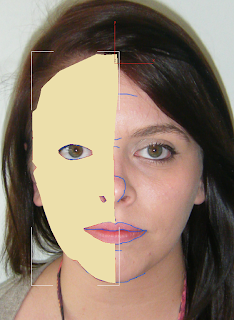
Using the 'Spline' tool, found in the 'Shapes' section and set to 'Lines', and also ensuring the snaps toggle was set to 'Vertex' I began to draw over my topology guidelines from the reference planes. I ensured that I was viewing my front image reference plane in the 'Front' viewport to ensure a 2D spline image.
In this image you can (just about!) see the tracing of the topology using the spline tool.
As mentioned in one of my previous blog posts, whilst creating my topology diagram I seemed to have quite a few more quads than on the example given in the tutorial videos. So whilst creating the topology using the spline tool I managed to omit some of the quads that I deemed unecessary to my model, ones such as the intricate amount I had placed on my brow line for example as you can see below. I again had to adjust a couple of 'quads' that turned out not to be so quad-like on the nose area!
Here is the finished spline tool topology.
The joined up quads as an editable poly.


No comments:
Post a Comment